How to Make glass effect buttons in Paint Shop Pro
A step by step tutorial by Chris Brown
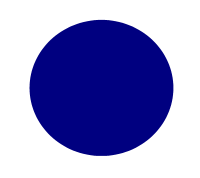
To make a simple but effective glass button start with
a solid circle of a single colour. Throughout this tutorial I will use vector
techniques and urge you to do the same.
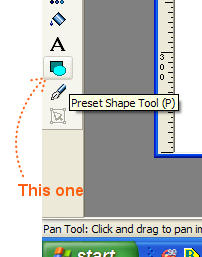
Begin by using the preset shape tool.

Next add another circle on top of the one you just mase. Instead of a solid fill this one wiill have a gradient fill. Set the colour as all white, but set the opacity to about 50% at the bottom of the fill and 20% at the top. You end up with a circle that is lighter at the bottom than the top. There are simpler ways of creating a circle with a fill, but this method gives you fine control over the exact colours and gradients if you want to adjust them at a later date. At this stage, save your file as a PSP file.

Next add a The content of your button. This will be on a new layer. My letter A has a gradient on it but that is not necessary (I just forgot to turn the gradient off).

Finally add another layer with oval with another white fill and a gradient set to 20% at the top and 80% at the bottom.